Hello everyone! Today is a bit of a reprieve from the cold snap we’ve been having here in Texas. I want to continue with the Thanksgiving series that we’ve been discussing and show y’all a couple of my inspiration ideas for my guest room/office project that I’m working on finishing before my family visits at Christmas.
Prepping the dinnerware and decor
One of the biggest time consumers that I’ve run into every year is locating and washing all of the dinnerware and all of those beverage dispensers, table linens, glasses, holiday plates, serving pieces and holiday decor pieces that make an appearance this time of year. Since I moved recently, most of my items are still in boxes and definitely in need of a good wash! This year isn’t going to be a big event as it has been, but I still want to use my favorite pieces to set a classy table. I pulled out many of my pieces today and plan to wash everything so that it’s all ready to go and I don’t need to waste time on Thanksgiving doing so. I also pulled out a few more decor items so that I can create a lovely centerpiece. This year, I’m planning to use what I have on hand so that I can save money and reduce the accumulation of clutter. I have been on a kick lately using eBay to sell items that aren’t my style anymore, but that’s for a different post.
By now, you should have your holiday plan, menu, grocery list, clean fridge and pantry, and dinnerware and decor that is clean and ready to go. With about a week left before Thanksgiving, you should be feeling pretty dang organized and ready this year!
Guest Room / Office Inspiration
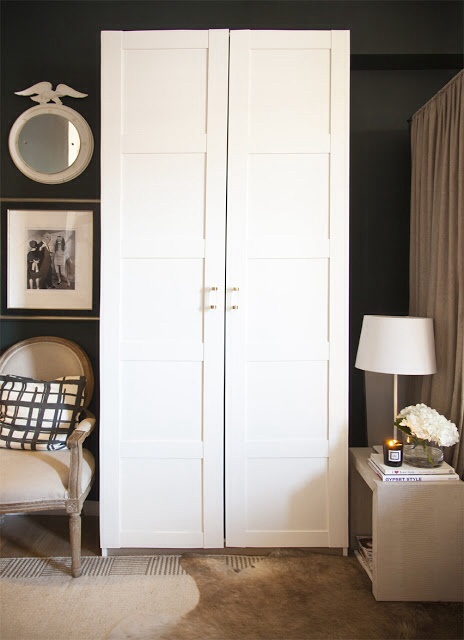
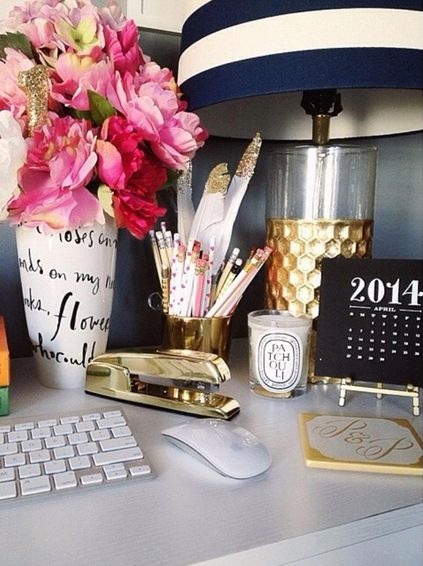
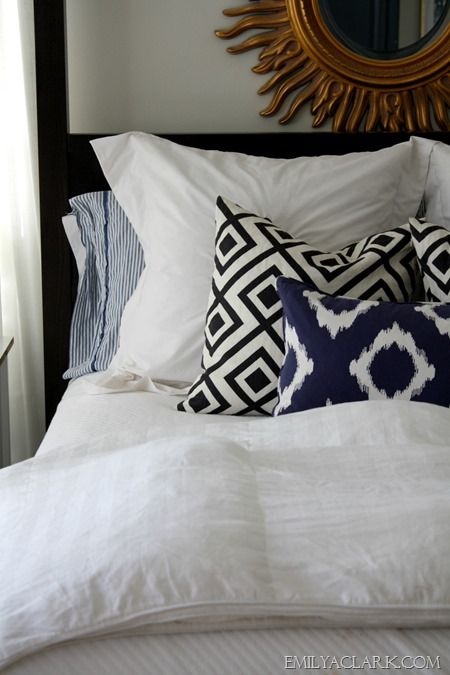
Changing gears…since I’m not having guests this year until Christmas, I have been actively budgeting and coming up with inspiration ideas. I’m really into the feminine/modern rooms with pink and gold accents. I’m renting the house I’m in now and downsized a bit from my Virginia house so that I could live in the city, so I need my guest room to serve several functions. I need some clothing/jewelry storage, craft storage and an office/guest room space. Here are a few of the spaces that I’ve taken some inspiration from:


Sources:
http://www.ivyclad.com/2012/06/ikea-snafu-hacks.html
http://home-styling.blogspot.com/p/my-work.html
http://www.casaandcompany.com/home/dress-up-your-desk/
http://theeverygirl.com/how-to-style-a-desk-3-ways-for-the-student-the-post-grad-the-career-woman


You must be logged in to post a comment.